
Video Tutorial
Instructions
1. For this example, navigate to the “Assignment” tab on the left.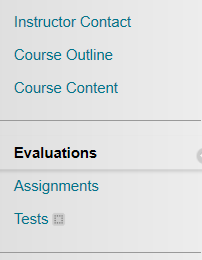 2. Once there, go into the Course Assignment folder.
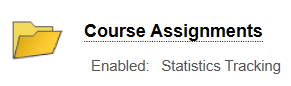 3. Now click on the “Assessments” tab. Reason you are going there rather than the “Build Content” tab is because for this example, you expect to receive information back from the student. Anything you create under the “Build Content” tab, (Item, file) is simply you giving information to the student. When you want information back from the student, you need to do it under the “Assessments” tab. Then click “Assignment”.
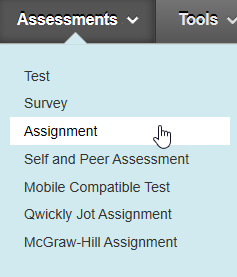
Assignment Information
4. This is very similar to Building Content. You must give it a name. (And again you can modify the color of the title if you choose).
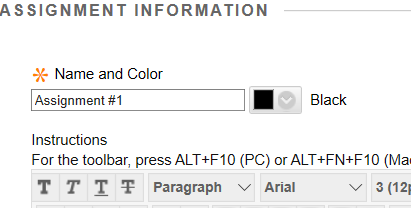 5. And you have an area to provide instruction to the student.
Assignment Files
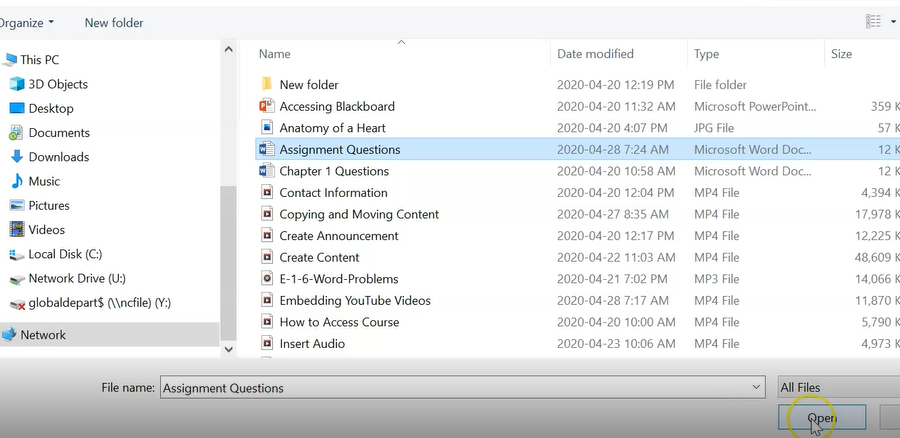
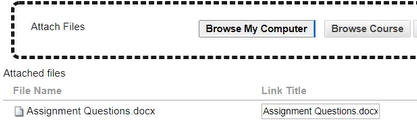
6. Browse your computer and select the file that was created.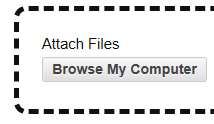
Due Dates
8. Because this is an assignment, you can choose a due date. For this example, choose a due date of tomorrow with an end time of 4:00pm.
Grading
9. Also because it’s an assignment, you must indicate to Blackboard how many points this assignment is out of. For this example, we’ll enter 50. 10. If you had a “Rubric” you could associate it here. Either with an existing Rubric or creating a new one. For this example, you don’t need to attach one.
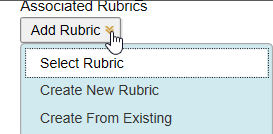
Submission Details Options
Under Submission Details, let’s cover a few options.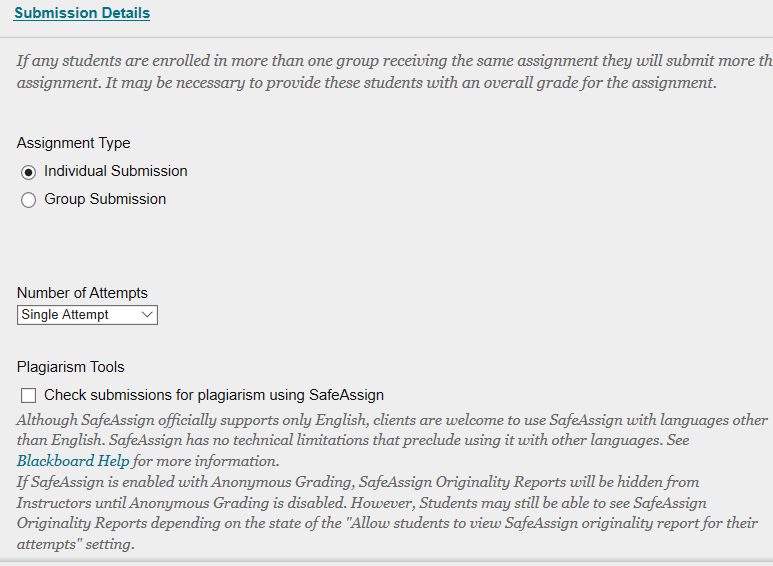
A. ASSIGNMENT TYPE
By default, this is set to “Individual Submission”. If it was a “Group Submission” you would change it below.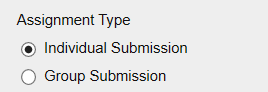
B. NUMBER OF ATTEMPTS
This is where you set how many number of attempts you want to provide to the students to submit the assignment. You can leave it at the default of Single Attempt.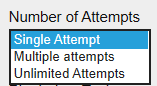 If you change it to Multiple Attempts, it will want to know how many attempts the students get. For this example, enter 2.
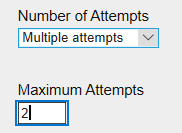
C. SCORE ATTEMPTS USING
Then it wants to know how you would like to score those assignments. It always defaults to Last Graded Attempt.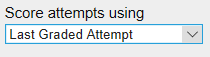 You can also choose any of the following below. Often times, you would leave this to default because you will find you won’t mark both assignments. You’re only going to mark the one that they submitted last.
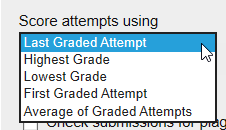
D. PLAGIARISM TOOLS
You will learn more about this section in a later video.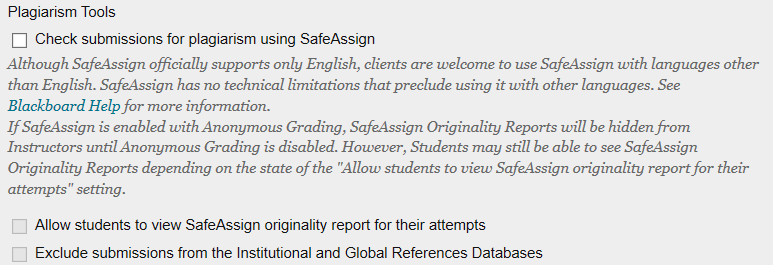
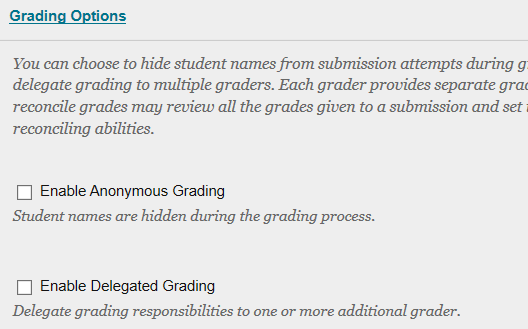
Grading Options
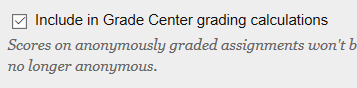
Under Grading Options, there should be nothing for you to change. But simply so you are aware, there is;
Enable Anonymous Grading:this is helpful if you’d like to receive the student’s assignments but not know who it belongs too when you are grading them.Enable Delegated Grading: you will not use this option.
Display of the Grade
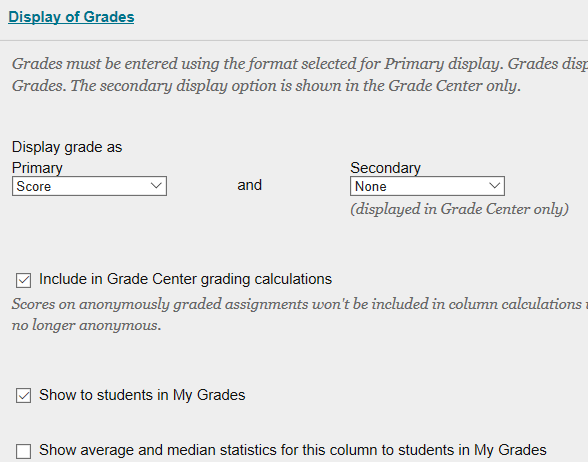
The first option is to display the grade primarily as a score. So this assignment is out of 50. You see the student received 42. B. DISPLAY THE GRADE AS SECONDARY
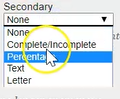
If you would like a secondary display, you can choose percentage. So the students see both, 42/50 as well as what their percentage is.
 This check mark allows the students to see this assignment in my grades section to see what their mark is. If you do not want the students to see their mark, remove the checkmark and this grade would be hidden until such time that you decide to show it.
Availability
And last, this assignment is set by default to make the assignment available. You can also set time restrictions on when this assignment is available to the student and how long. As well, you can track the number of views.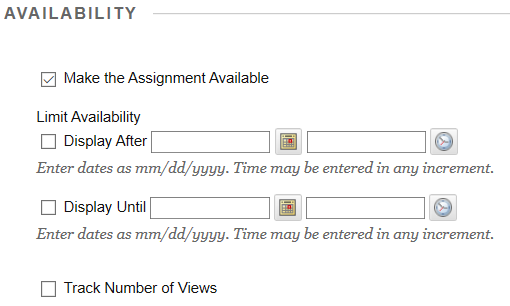 And now you can click submit on bottom right.
 Here you see the finished assignment we just created.
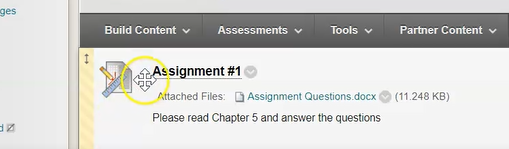 The icon of this assignment is different than that of an item or file. It has a ruler and a pencil indicating that this is an assignment file that you expect to receive information back from. The title of the assignment is clickable. And you can see the attached file that you submitted. As well as the instructions to complete the assignment. The students would navigate into this assignment by clicking on the title. It takes them to the page you see below. Which gives them all the information about the assignment. Gives them the due date that you set, how many points possible for this assignment as well as the instructions and the attached document.
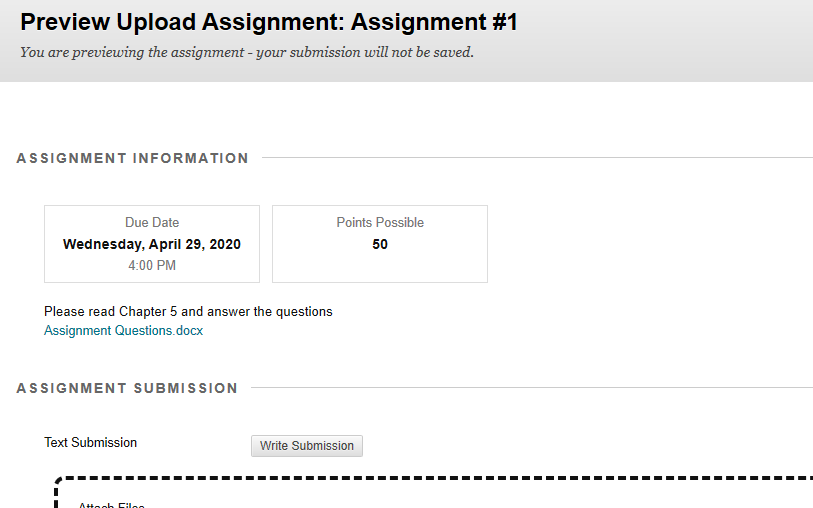
Students have two options when submitting their completed work.
1. WRITE SUBMISSION
Not recommended, but available is for the student to click on is Write Submission. They simply write their answers right here within blackboard.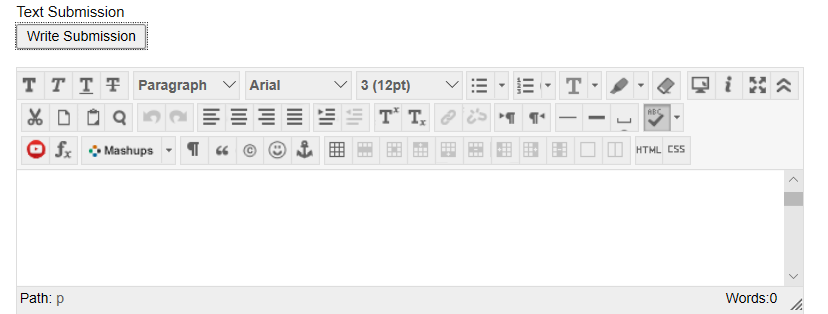
2. SUBMIT YOUR ANSWER FILE
The second option is to Browse your Computer and find your assignment file and submit just like you do when you submit a document.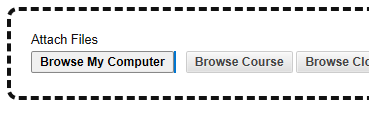
And when they are done, they will click submit on the bottom right. And that student’s assignment will now be sitting in your grade center for you to review.