Video Tutorial
Instructions
A. Add Audio File Option to Your Course
To add an audio file into your content on Blackboard, it’s very similar to the image file that we just input.
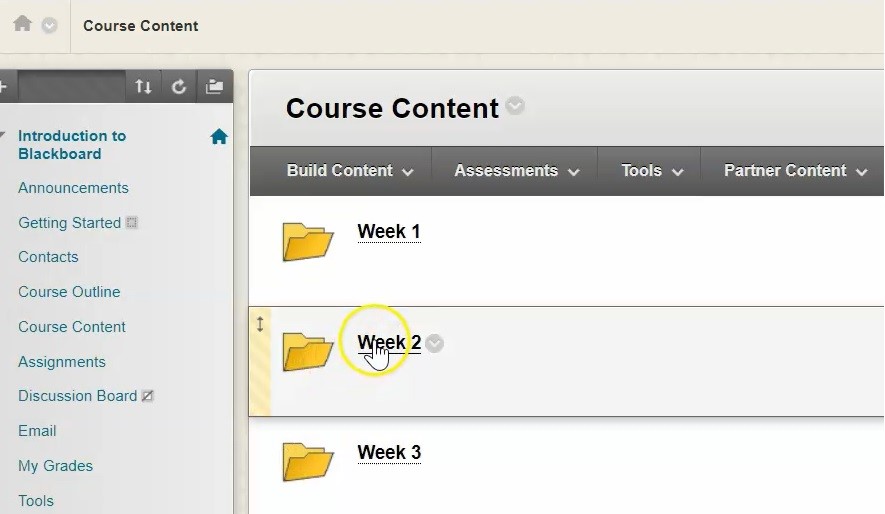
1. For this example, I’m going to navigate to and click on my Week 2 folder.
2. Click on “Build Content”.
3. Click “Audio”.
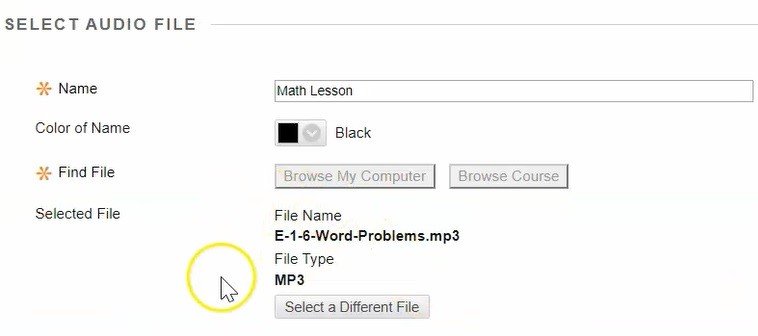
B. Selecting Your Audio File
1. Create a name for the file.
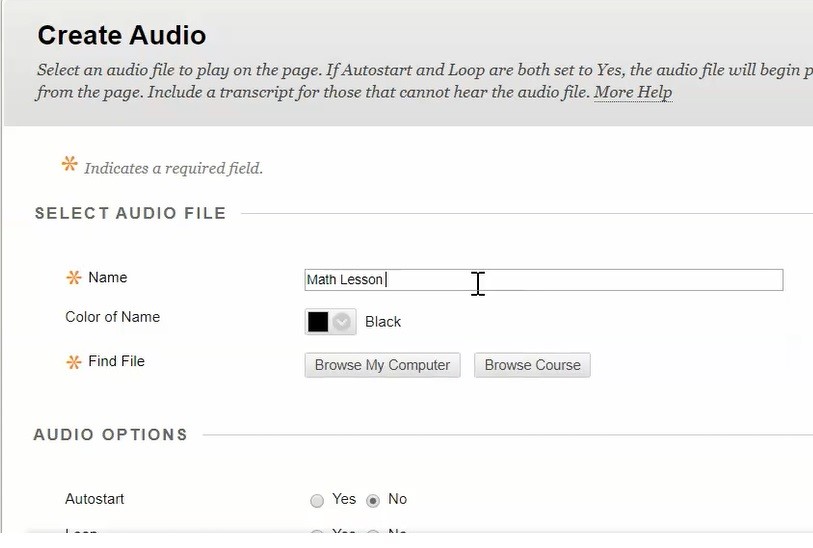
2. Click “Browse My Computer” to find the file.
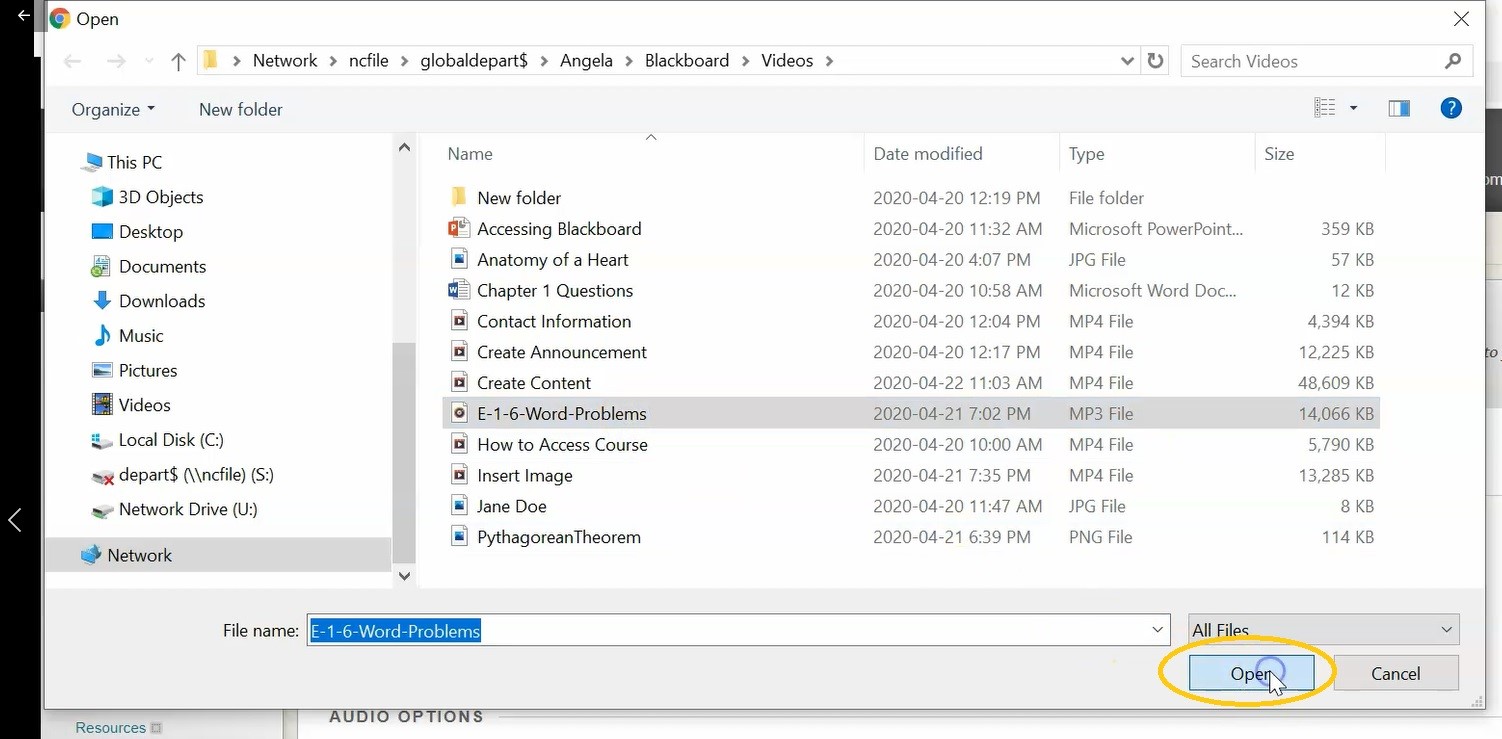
3. Select the audio file you want to use, and click “Open”.
4. You will now see the attached file.
C. Audio Options
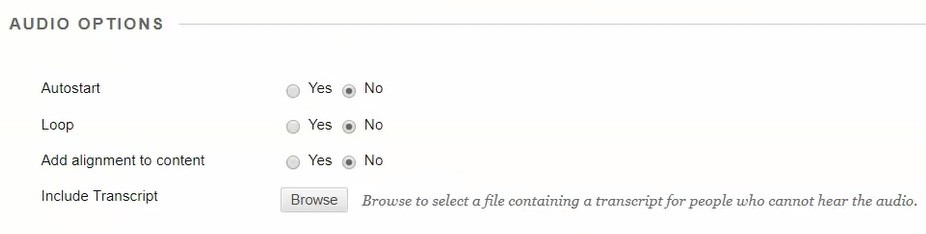
1. Under Audio Options, we have an Autostart feature. If you click “Yes” to this, the audio file will automatically start playing as soon as the student navigates to that page in the course.
2. Loop gives you the option to loop your audio. If you put loop to “Yes” what that means is when the file gets to the end of play, it will automatically go back to the beginning and restart.
3. You can also add alignment to content. For this example, we’re going to leave it at “No” as we just want it to go in on the screen on the left hand side.
4. If you had a transcript for the audio item, so for example if you wanted to ensure that people with hearing difficulties know what’s being said, you could type out all of the words then you could attach that by clicking “Browse”.

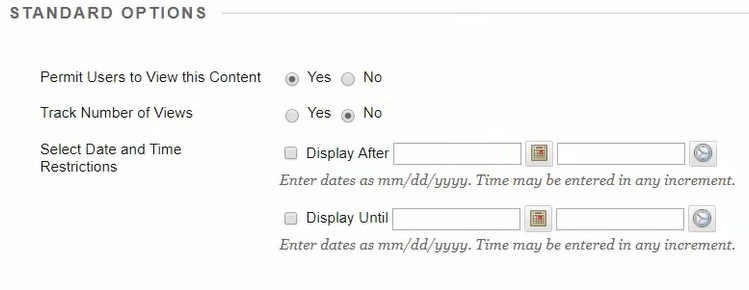
5. We’re going to leave the Standard Options as is for now.
6. Click “Submit”.
D. Review Your Audio File
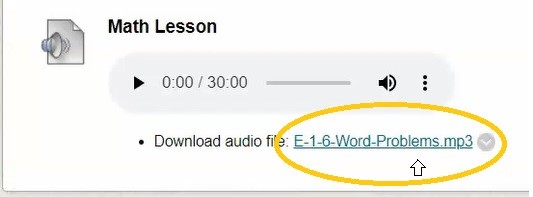
1. You’ll now see that the audio file has been embedded in the content area of the week two folder.
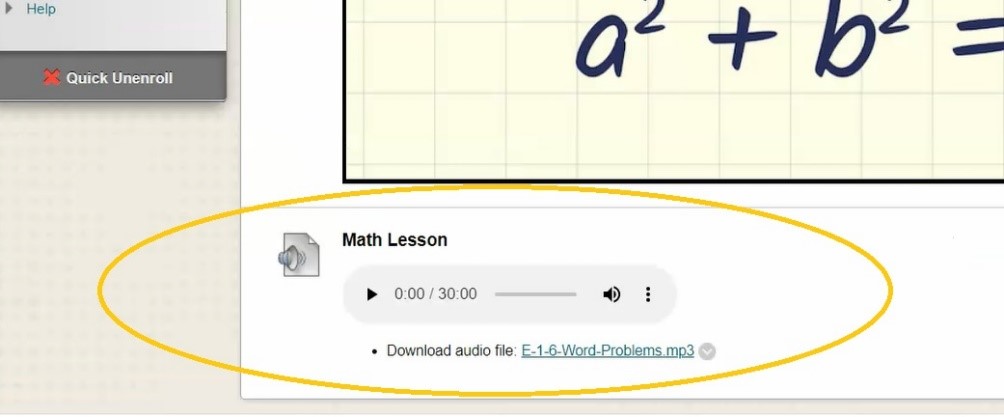
2. When students want to listen to the file, they simply need to click on the Play button.
3. To download the file, click on the download area.